Do you want to learn how to use the WordPress block editor (Gutenberg)?
When WordPress 5.0 was released in 2019, it replaced the old classic editor with a brand new block editor nicknamed “Gutenberg”. The block editor introduced a different way of creating content in WordPress.
In this tutorial, we’ll show you how to use the WordPress block editor and master it to create visually stunning blog posts and pages.
What’s The Difference Between Block Editor (Gutenberg) and Classic Editor?
Before we dive into the block editor, let’s first compare and understand the differences between Gutenberg Block Editor and the Older Classic Editor.
Here is what the classic editor in WordPress looked like:

And this is how the modern WordPress block editor looks like:

As you can see, they are two completely different editors for creating content in WordPress.
The old classic editor was a text editor with formatting buttons very similar to Microsoft Word.
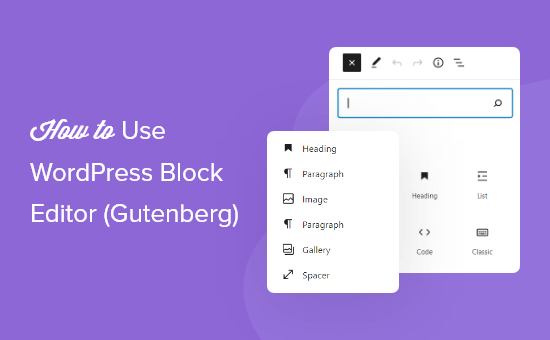
The new editor uses a totally different approach, called ‘Blocks’ (hence, the name Block Editor).
Blocks are content elements that you add to the edit screen to create content layouts. Each item you add to your post or page is a block.
You can add blocks for each paragraph, images, videos, galleries, audio, lists, and more. There are blocks for all common content elements, and more can be added by WordPress plugins.
How is the WordPress block editor better than the classic editor?
The WordPress block editor offers a simple way to add different types of content to your posts and pages.
For example, previously if you wanted to add a table in your content, then you needed a separate table plugin.
With the block editor, you can simply add a table block, select your columns and rows, and start adding content.

You can move content elements up and down, edit them as individual blocks, and easily create media-rich content.